How to made ice cream at home
Making ice cream at home is a fun and rewarding experience. You don’t need to be a professional chef or own fancy gadgets. With a few basic ingredients and some simple techniques, you can whip up delicious ice cream right in your kitchen.
Whether you’re craving classic flavors like vanilla and chocolate or want to experiment with something more unique, the possibilities are endless.
Let’s dive into the world of homemade ice cream and discover how you can create your own frozen treats.
Understanding the Basics of Homemade Ice Cream
Essential Ingredients for Ice Cream
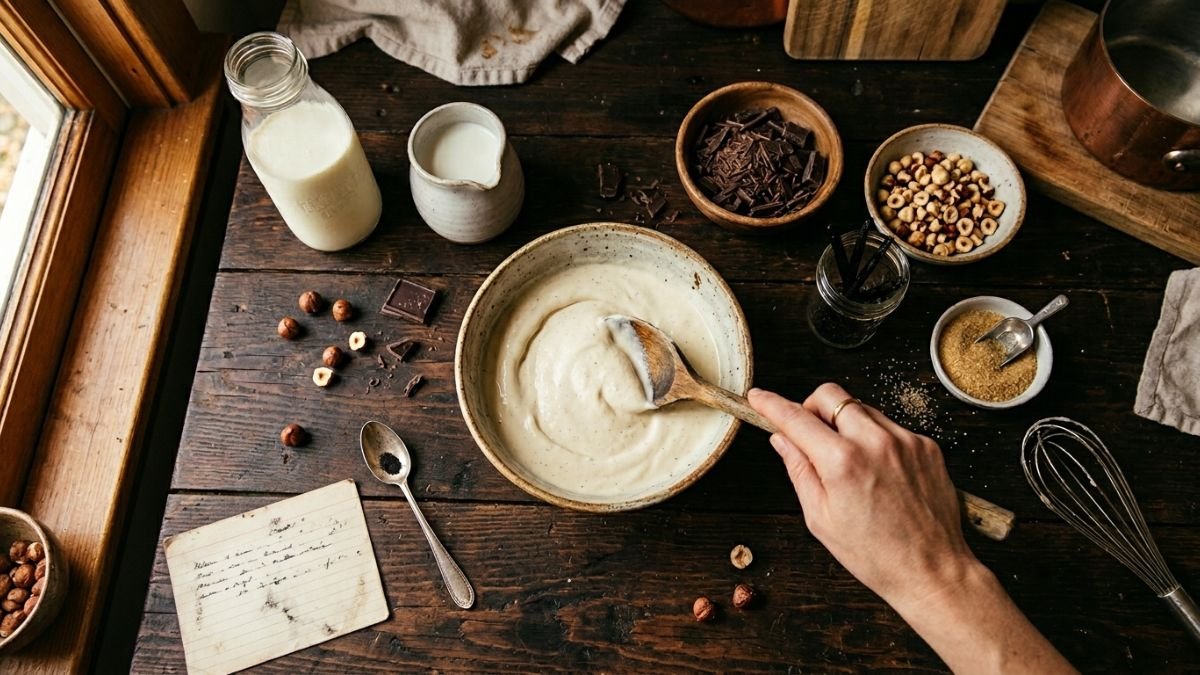
Making ice cream at home is all about using the right ingredients to get that creamy texture and rich flavor. You’ll need heavy cream and whole milk as the base. These give the ice cream its smooth texture. Sugar is a must for sweetness, and a pinch of salt helps balance the flavors. For that classic vanilla taste, vanilla extract is your go-to. Some folks like to use vanilla bean paste for those fancy specks and a deeper flavor.
The Science Behind Ice Cream Texture
Ice cream’s texture is all about how you mix and freeze it. Churning is key—it keeps ice crystals small, which is what makes ice cream smooth instead of crunchy. When you churn, air gets mixed in, making the ice cream light and fluffy. The fat from the cream and milk helps stabilize this mix, giving you that rich, creamy feel. If you don’t churn right, you might end up with a block of ice instead of ice cream.
Choosing the Right Equipment
You don’t need a ton of fancy gear to make good ice cream, but having the right tools can make a big difference. An ice cream maker is great, but not essential. There are hand-crank and electric versions, and each has its pros and cons. If you don’t have one, you can still make ice cream using a sturdy plastic bag or a simple bowl. Just remember, the goal is to keep everything cold and moving to get that perfect texture.
Homemade ice cream is a mix of art and science. With the right ingredients and tools, you can create flavors that are as unique as you are.
Step-by-Step Guide to Making Ice Cream
Preparing Your Ingredients
To start off, gather all your ingredients. For a basic vanilla ice cream, you’ll need:
- 2 cups of heavy cream
- 1 cup of whole milk
- 3/4 cup of granulated sugar
- 1 tablespoon of vanilla extract
- A pinch of salt
Mix these ingredients in a large bowl until the sugar is completely dissolved. If you’re feeling adventurous, you can add other flavorings or extracts at this stage.
Mixing and Churning Techniques
Once your ingredients are ready, it’s time to churn. If you’re using an ice cream maker, pour the mixture into the machine and let it churn according to the manufacturer’s instructions. This usually takes about 20-30 minutes.
If you don’t have an ice cream maker, don’t worry! You can use the plastic bag method for a fun and easy alternative. Simply pour your mixture into a resealable plastic bag, seal it tight, and place it in a larger bag filled with ice and salt. Shake it vigorously for about 10 minutes until the mixture thickens into ice cream.
Freezing and Storing Tips
After churning, transfer your ice cream into an airtight container. Press a piece of plastic wrap directly onto the surface of the ice cream to prevent ice crystals from forming. Freeze for at least 2 hours before serving.
When storing, keep your ice cream in the coldest part of the freezer. This helps maintain its creamy texture. And remember, homemade ice cream is best enjoyed within a week for optimal freshness.
Making ice cream at home is not just about the end product, but also about the joy of creating something delicious from scratch. With a few simple steps, you can enjoy a creamy treat that’s both satisfying to make and eat.
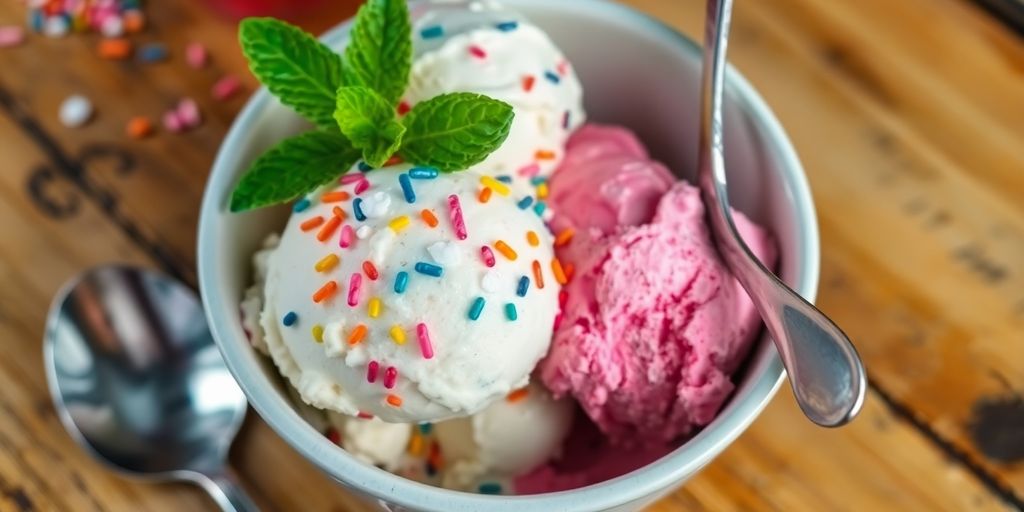
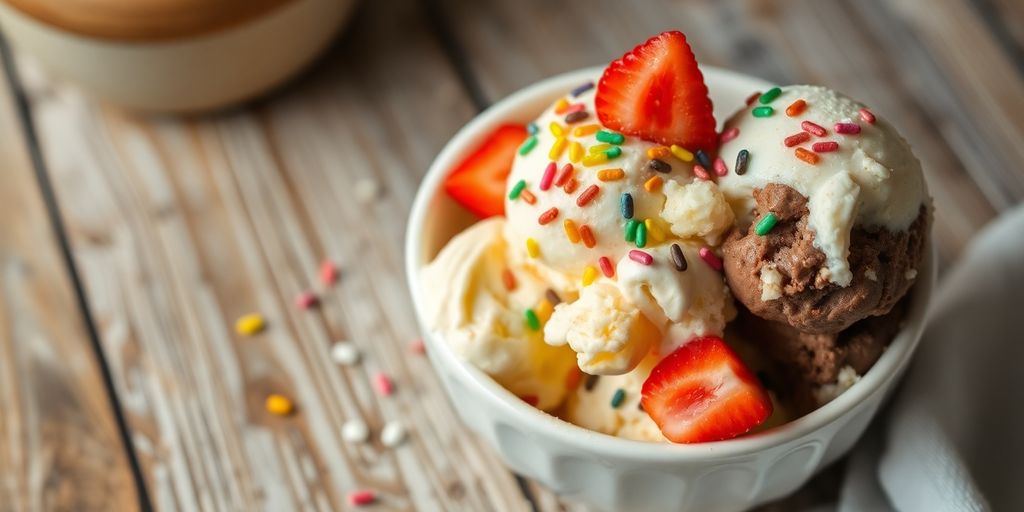
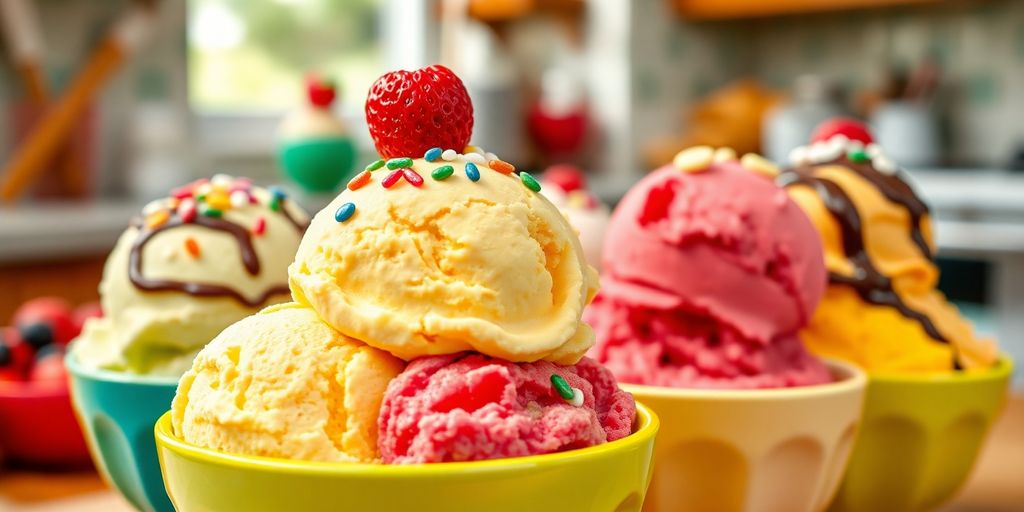
Exploring Different Ice Cream Flavors
Classic Vanilla and Chocolate
When it comes to ice cream, classic flavors like vanilla and chocolate never go out of style. Vanilla, with its rich and creamy essence, is the perfect base for any toppings you might fancy. Chocolate, on the other hand, offers a deep, indulgent taste that satisfies any sweet tooth. Making these at home is as simple as blending milk, cream, sugar, and either vanilla extract or cocoa powder. For a little twist, consider adding chocolate chips or a swirl of caramel.
Fruity and Refreshing Options
Fruity ice creams are great for those who prefer a lighter, more refreshing treat. Think about incorporating fresh strawberries, mangoes, or blueberries into your ice cream base. You can make a puree from these fruits and mix it into your cream mixture before freezing. Alternatively, create a swirl effect by adding fruit compote after churning. A squeeze of lemon or lime juice can enhance the fruit flavors, giving your ice cream a zesty kick.
Unique and Gourmet Creations
For the adventurous, gourmet ice cream flavors offer a playground of possibilities. Imagine savoring a scoop of lavender honey or balsamic strawberry ice cream. These flavors might sound unusual, but they provide a sophisticated taste experience. To create gourmet ice cream, experiment with ingredients like herbs, spices, or even a splash of your favorite liqueur. The key is to balance these bold flavors with the creamy base, ensuring a delightful taste without overpowering the palate.
“Creating unique ice cream flavors at home allows you to explore endless possibilities and cater to your own taste preferences.”
Making Ice Cream Without a Machine
The Two-Ingredient Method
You won’t believe how easy it is to whip up ice cream with just two ingredients. Start by whipping 2 cups of heavy cream until you see those stiff peaks. Then, gently fold in a chilled can of sweetened condensed milk. You can add a splash of vanilla or any other flavor you fancy. This method is so simple, yet it delivers creamy, delicious results every time. Pour your mixture into a container, seal it up, and let it freeze for a few hours. That’s it!
Using a Plastic Bag
This method is a bit more hands-on, but it’s fun, especially if you have kids. Put your ice cream base in a quart-size resealable bag, making sure to squeeze out any air before sealing it. Place this bag inside another one for extra security. Then, put these in a larger gallon bag filled with crushed ice and some salt. The salt helps the ice get colder, which freezes your ice cream base faster. Wrap it all in a towel and shake it like crazy for about 5-8 minutes. You’ll have ice cream ready to enjoy in no time.
The Freeze and Stir Technique
This one’s a bit of a waiting game but worth it for the creamy texture. Pour your ice cream mixture into a deep dish and freeze it. After about 45 minutes, take it out and stir vigorously. Repeat this every 30 minutes for about 2-3 hours. If you’ve got a hand mixer or blender, use it to make the stirring easier. This method takes a bit of patience, but the end result is smooth and creamy ice cream.
Making ice cream without a machine isn’t just possible, it’s a fun and rewarding process. Whether you choose the quick two-ingredient method, the interactive bag method, or the patient freeze and stir technique, you’ll end up with homemade ice cream that’s sure to impress.
For a more detailed recipe, check out this homemade ice cream recipe that uses simple ingredients and steps.
Tips for Perfecting Your Ice Cream
Achieving the Ideal Consistency
Getting that perfect scoopable texture can be a bit tricky, but it’s all about managing fat, sugar, and air. The balance of these elements determines whether your ice cream is creamy or icy. Here’s a quick rundown:
- Fat: Use heavy cream or whole milk for a rich texture.
- Sugar: Not just for sweetness, sugar helps prevent ice crystals.
- Air (Overrun): Churning introduces air, making the ice cream light and fluffy.
Balancing Flavors and Sweetness
Finding the right flavor balance is crucial. Too sweet, and it’s overwhelming; too bland, and it’s forgettable. Here’s how to nail it:
- Start Small: Add flavors gradually and taste as you go.
- Use Quality Ingredients: Fresh vanilla beans, real chocolate, and ripe fruits make a big difference.
- Balance with Salt: A pinch of salt can enhance sweetness without making it cloying.
Remember, the best ice cream is one that makes you want another scoop. Keep experimenting until you find your sweet spot.
Incorporating Mix-Ins and Toppings
Mix-ins can transform your ice cream from simple to sensational. Here’s how to do it right:
- Timing is Key: Add mix-ins like nuts or chocolate chips in the last few minutes of churning.
- Pre-Freeze Delicate Additions: Swirl in sauces or jams after the ice cream is churned and partially frozen.
- Get Creative: Try anything from crushed cookies to caramel ribbons. Just make sure they’re evenly distributed.
Troubleshooting Common Ice Cream Issues
Preventing Ice Crystals
Ice crystals can really mess up the creamy texture you’re aiming for in homemade ice cream. To avoid these icy intruders, make sure your ice cream base is cooled quickly and stored properly. Here’s what you can do:
- Chill your base: Before churning, ensure your mixture is thoroughly chilled. This helps it freeze faster and more uniformly.
- Cover it up: Lay a piece of plastic wrap directly on the surface of the ice cream before sealing the container. This minimizes air exposure, reducing crystal formation.
- Keep it cold: Store your ice cream in the coldest part of the freezer, away from the door, to maintain a consistent temperature.
Fixing Over-Churned Ice Cream
Over-churned ice cream can become grainy and unpleasant. If you find yourself in this situation, don’t worry, there’s a way out:
- Stop in time: Keep a close eye on the texture during churning. Once it reaches a soft-serve consistency, it’s time to stop.
- Add a splash: If it’s too late, try adding a small amount of milk or cream and gently mix it in to smooth things out.
- Serve sooner: Over-churned ice cream is best eaten sooner rather than later to enjoy its best texture.
Dealing with Melting Problems
Melting issues can turn your ice cream into a soupy mess, especially during serving. Here’s how to handle it:
- Pre-chill your bowls: Before serving, chill your bowls or cones in the freezer for a few minutes. This helps keep the ice cream cold longer when serving.
- Serve quickly: Avoid letting the ice cream sit out for too long. Serve it immediately after scooping.
- Consider stabilizers: For homemade batches, using stabilizers like gelatin or cornstarch can help maintain the structure and slow down melting.
Homemade ice cream is a delightful treat, but it comes with its quirks. With a little patience and some handy tips, you can conquer these common challenges and enjoy your creamy creations every time. If you’re running an ice cream shop, understanding these issues can help you maintain quality and satisfy customers consistently.
Healthier Alternatives for Homemade Ice Cream
Dairy-Free and Vegan Options
For those who can’t or choose not to consume dairy, making ice cream without it is totally doable. Coconut milk is a popular base, lending a creamy texture and rich flavor. Almond milk or cashew milk can also work, though they might need a thickener like cornstarch to achieve that creamy feel. If you’re into experimenting, try using avocado for a smooth, rich texture. It sounds odd, but it works! And for sweetening, maple syrup or agave nectar can replace traditional sugar.
Low-Sugar and Low-Fat Recipes
Want to cut down on sugar and fat? Greek yogurt is your friend. It’s thick, creamy, and adds a nice tang. Blend it with fresh fruit for natural sweetness and a burst of flavor. Another trick is to use stevia or monk fruit as sweeteners, both being low-calorie options. For those watching fat intake, consider using skim milk or a blend of milk and water. The texture might be a bit different, but it’s a decent trade-off for the calorie-conscious.
Using Natural Sweeteners
Ditch the refined sugar and go for natural sweeteners. Honey, when used in moderation, adds a floral note and depth to your ice cream. Dates are another great option; they’re naturally sweet and can be blended into a paste to mix into your base. Even ripe bananas can do the trick, adding sweetness and a hint of banana flavor. Remember, the key is to balance the sweeteners with the other ingredients to maintain that classic ice cream taste.
Making healthier ice cream at home means you can enjoy your favorite treat without the guilt. By choosing the right ingredients, you can whip up a batch that’s not only delicious but also aligns with your dietary preferences.
For a simple and delicious option, you might want to try this Paleo ice cream recipe that’s both dairy-free and gluten-free. It’s a tasty way to indulge without compromising on your health goals.
Serving and Enjoying Your Ice Cream Creations
Pairing Ice Cream with Desserts
Ice cream is a versatile treat that pairs well with a variety of desserts. Here are some classic combinations:
- Cherry Pie: The tartness of cherries complements the creamy sweetness of vanilla ice cream.
- Apple Pie: A scoop of vanilla ice cream on warm apple pie is a timeless favorite.
- Peach Crisp: The crunchy topping and sweet peaches are elevated with a dollop of ice cream.
Creative Presentation Ideas
Presentation can make your homemade ice cream even more enjoyable. Consider these ideas:
- Serve in edible bowls made from chocolate or cookie dough.
- Use fresh fruit as a natural bowl for a refreshing twist.
- Create layered parfaits with ice cream, fruit, and granola.
Hosting an Ice Cream Tasting Party
Why not share your ice cream creations with friends? Host a tasting party!
- Choose a theme: Whether it’s classic flavors or exotic blends, a theme can add excitement.
- Prepare a variety of toppings: Include fruits, nuts, and sauces for guests to customize their desserts.
- Provide tasting spoons: Allow guests to sample and savor different flavors.
Hosting an ice cream party is a fun way to explore flavors and enjoy time with friends. It’s not just about the ice cream; it’s about the memories you create.
For those looking to expand their homemade treats, try crafting delicious homemade ice cream sandwiches by pairing different cookies with your chosen ice cream flavor. This adds a delightful twist to any gathering.
The History and Evolution of Ice Cream
Origins of Ice Cream
Ice cream’s story begins long ago, with ancient civilizations enjoying icy treats. The Chinese were among the first, mixing snow with rice and milk around 200 BC. Fast forward to the 13th century, Marco Polo brought back tales of a similar dessert from his travels to the East, which sparked interest in Europe. By the 17th century, the concept of ice cream had evolved in Italy and France, becoming a luxury for the elite.
Ice Cream Through the Ages
As time marched on, ice cream started to spread across the globe. In the 18th century, it made its way to America, where it quickly became a popular treat. Thomas Jefferson, a fan of the dessert, even had his own recipe. The real game-changer came in 1851 when Jacob Fussell, a dairyman from Baltimore, opened the first ice cream factory. This marked the beginning of commercial ice cream production, making it accessible to the masses.
Modern Innovations in Ice Cream Making
Today’s ice cream world is filled with creativity and innovation. From dairy-free options to exotic flavors, the possibilities are endless. Modern technology allows for smoother textures and more consistent quality. Ice cream makers now experiment with everything from liquid nitrogen to create instant freezes to incorporating unexpected ingredients like avocado or bacon. The evolution of ice cream reflects our ever-changing tastes and the constant push for new experiences.
Ice cream is more than just a dessert; it’s a testament to human ingenuity and the joy of simple pleasures.
Wrapping It Up: Your Homemade Ice Cream Adventure
So there you have it, making ice cream at home isn’t just possible, it’s a blast! Whether you’re using a fancy machine or just a couple of plastic bags, the joy of crafting your own flavors is unbeatable. You can keep it classic with vanilla or go wild with mix-ins like chocolate chips or fruit swirls. Remember, the key is to have fun and experiment. Sure, it might not be as smooth as the store-bought stuff, but the satisfaction of saying, “I made this,” is worth every scoop. Plus, you get to control the ingredients, which is a win for anyone looking to keep things natural. So grab your ingredients, invite some friends over, and turn your kitchen into an ice cream parlor. Happy scooping!
Frequently Asked Questions
How do I make ice cream at home?
To make ice cream at home, cook milk, cream, and sugar until the sugar dissolves. Chill the mixture, add vanilla, and churn in an ice cream maker. You can serve it immediately or freeze it for later.
How long does homemade ice cream last?
Homemade ice cream doesn’t last as long as store-bought. Keep it in an airtight container and enjoy it within a few weeks for the best taste.
What can I serve with ice cream?
You can drizzle homemade ice cream with chocolate or caramel sauce. Pair it with fruit crisps or serve in a waffle cone for a fun presentation.
Can I make ice cream without a machine?
Yes, you can make ice cream without a machine using methods like the plastic bag method or the two-ingredient method with whipped cream and condensed milk.
What ingredients do I need for vanilla ice cream?
You’ll need heavy cream, whole milk, sugar, vanilla extract, and a pinch of salt. These ingredients make a creamy and delicious vanilla ice cream.
How can I make my ice cream taste better?
Try adding mix-ins like chocolate chips or fruit. Adjust the sweetness to your liking, and experiment with different flavors and toppings.
Is it possible to make dairy-free ice cream?
Yes, you can make dairy-free ice cream using alternatives like coconut milk or almond milk. There are also vegan recipes available.
What should I do if my ice cream is too hard?
If your ice cream is too hard, let it sit at room temperature for a few minutes before serving. You can also adjust the sugar content to help keep it softer.